For Christmas I received a Polaroid Zip Printer that I had been lusting after (yes, lusting haha) for a while, and I absolutely LOVE it. The photos print out on 2×3 sticky paper and they are adorable and handy and I’m able to keep up on having actual physical pictures of my favorite digital snaps! They’ve been accumulating on our school bulletin board so I was on a mission to find a cute way to display them.
You can’t step into Michael’s or Hobby Lobby or any other home or craft store without being bombarded by chalkboard, ‘rustic’, burlap or mason jars. It’s. Every. Where. But I’m cheap, and I’m definitely not about to drop $50 on a made-to-be-distressed piece of decor made in China. I just can’t.
Husband and his sailors volunteer at our local Habitat for Humanity ReStore, and it’s a great place to find home improvement items and even decent furniture and decor if you’re lucky! I asked him if they had any windows there and sure enough, they did! So for a whopping $3, I became the proud owner of a white, six paned window frame.
So, I present to you…
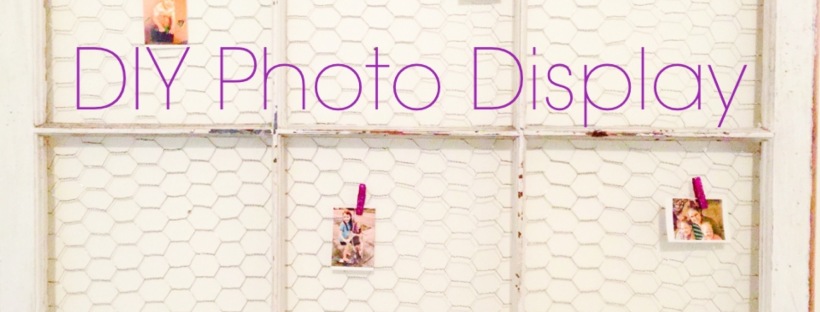
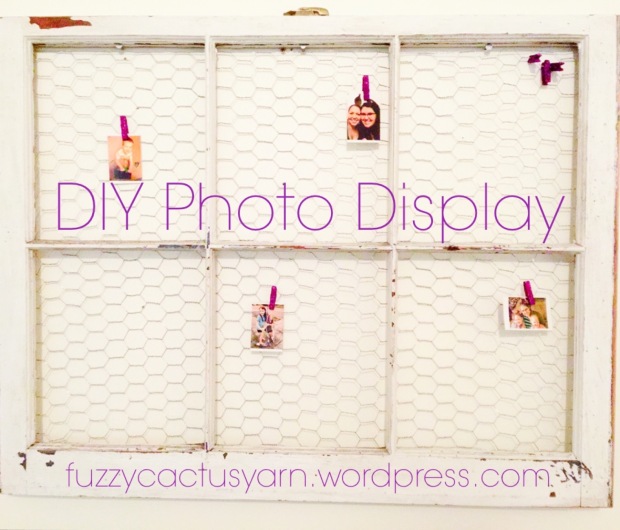
an easy $15 (or less!) DIY Photo Display!
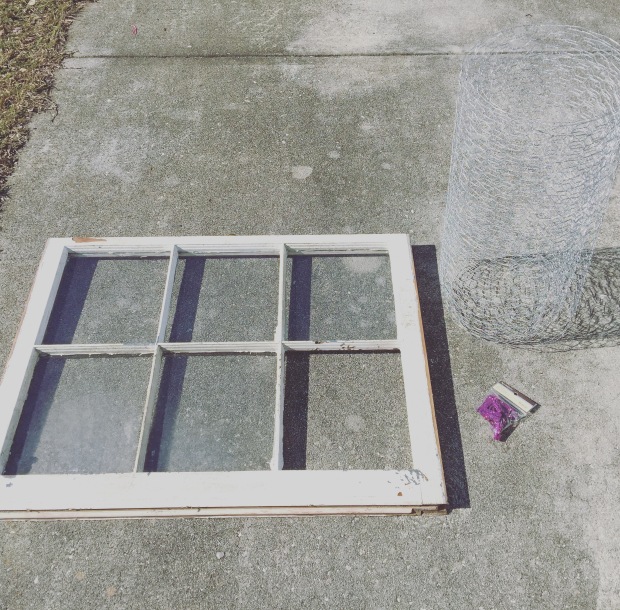
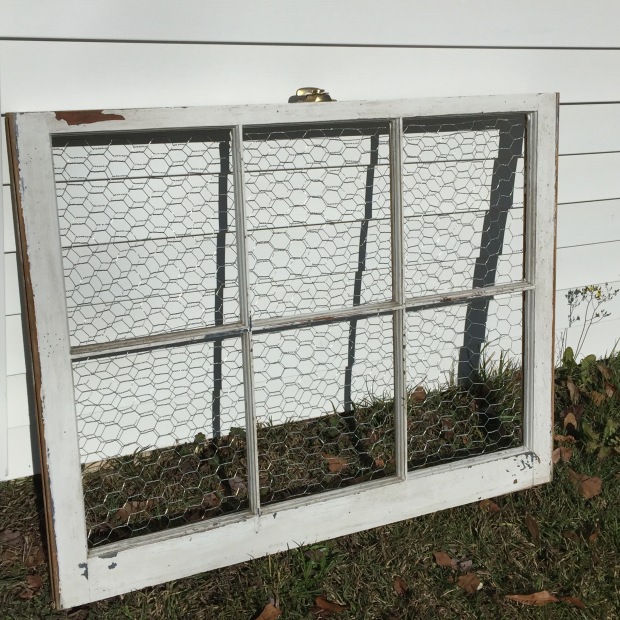
Old window, chicken wire, and clothespins
What you need:
- Old Window
- Chicken Wire
- Large-headed nails
- Hammer
- Wire cutters
- Cute clothespins or other clippies of your choice
Step 1:
Carefully remove glass if your window still has it (ours only had 5)
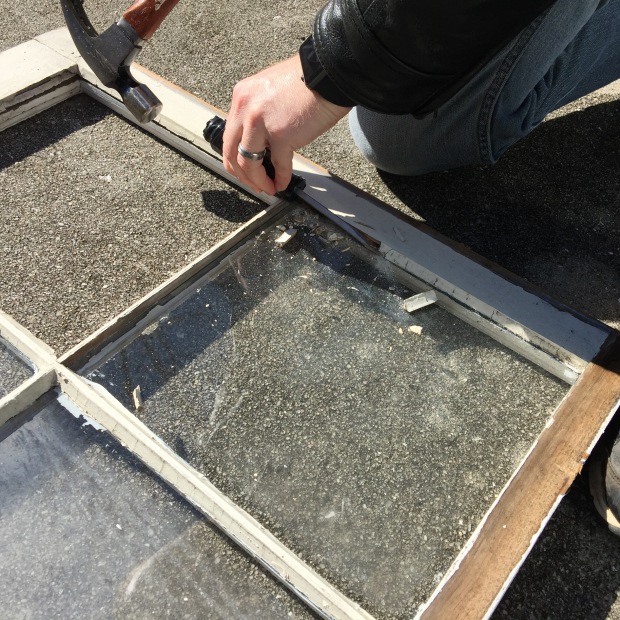
Using a hammer and flathead, Husband removed most of the caulk around the glass so it popped out
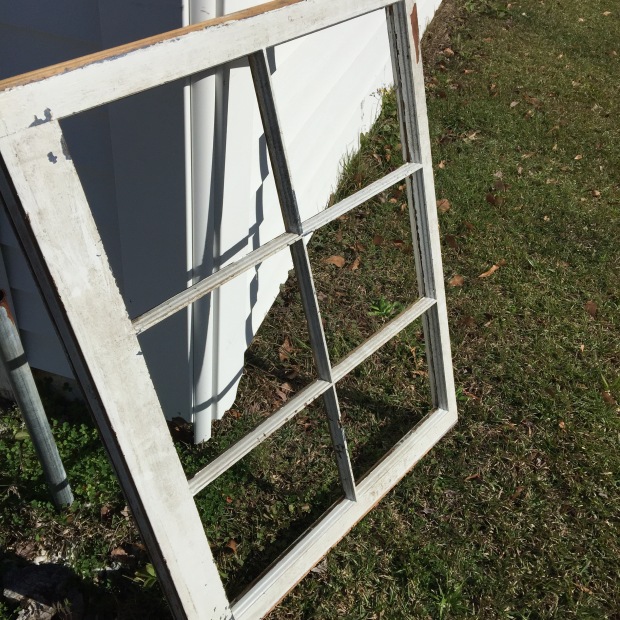
Ah, empty window frame!
We live in the great (and wet) state of South Carolina, and there was some mold on the frame. With some hand sanding, it came right off.
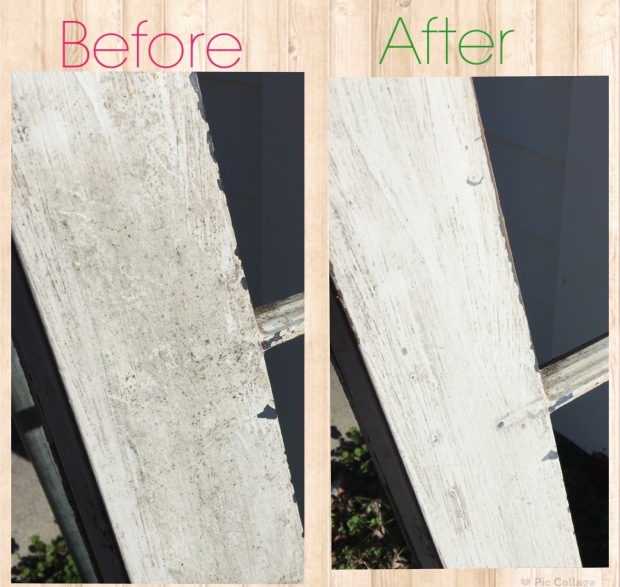
Before it was moldy, After it’s only distressed!
Step 2:
Measure out, cut, and potentially flatten enough chicken wire to cover the back of the open portion(s) of the frame.
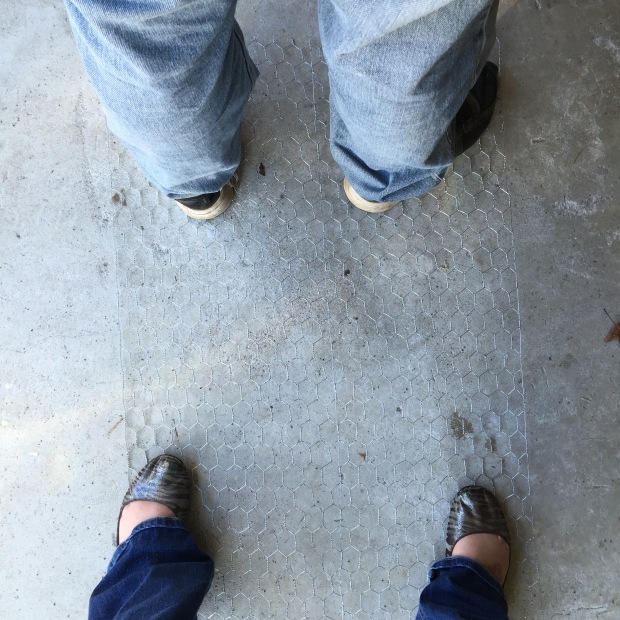
Our high tech way of flattening chicken wire!
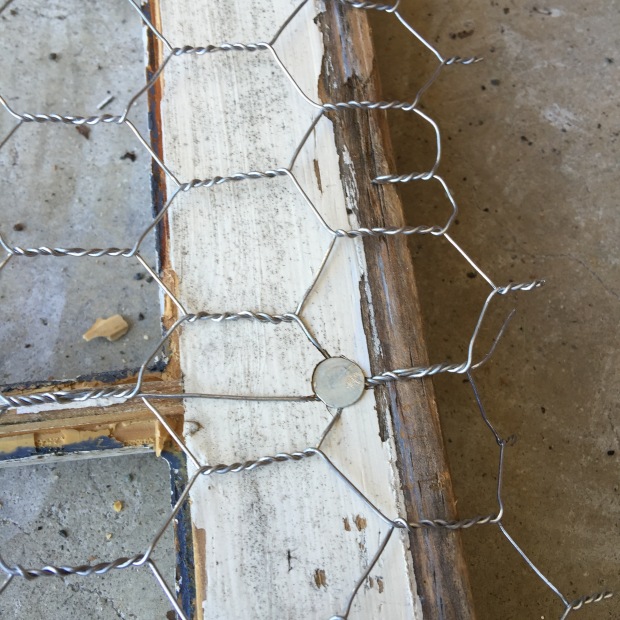
Step 3:
Stretch chicken wire across back of frame and nail in place.
Step 4:
Trim up your edges so no one is stabbed walking past your beautiful project 🙂
Completed DIY Photo Display!
Step 5:
Hang up your masterpiece! Throw your photos on and ta da! A great photo display that was a fraction of the big box store’s cost AND you’re upcycling!
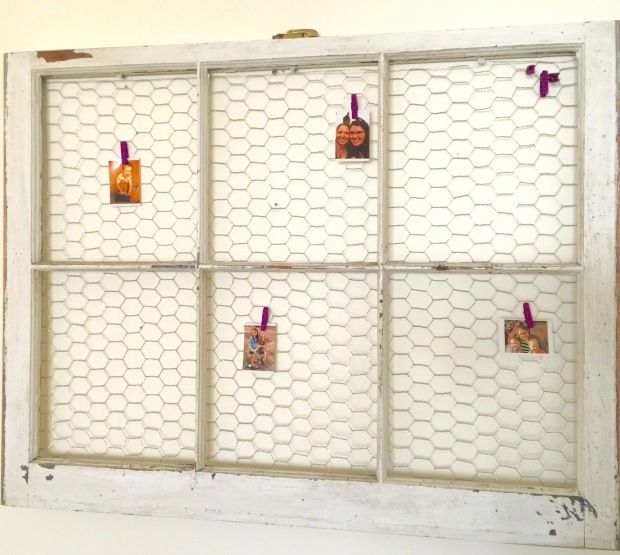
Michael’s had the purple sparkly clothespins, how could I say no?!
Tag me on Instagram with your completed project! I can’t wait to see my display fill up with my favorite pictures!
Now back to knitting 😉
Catie


